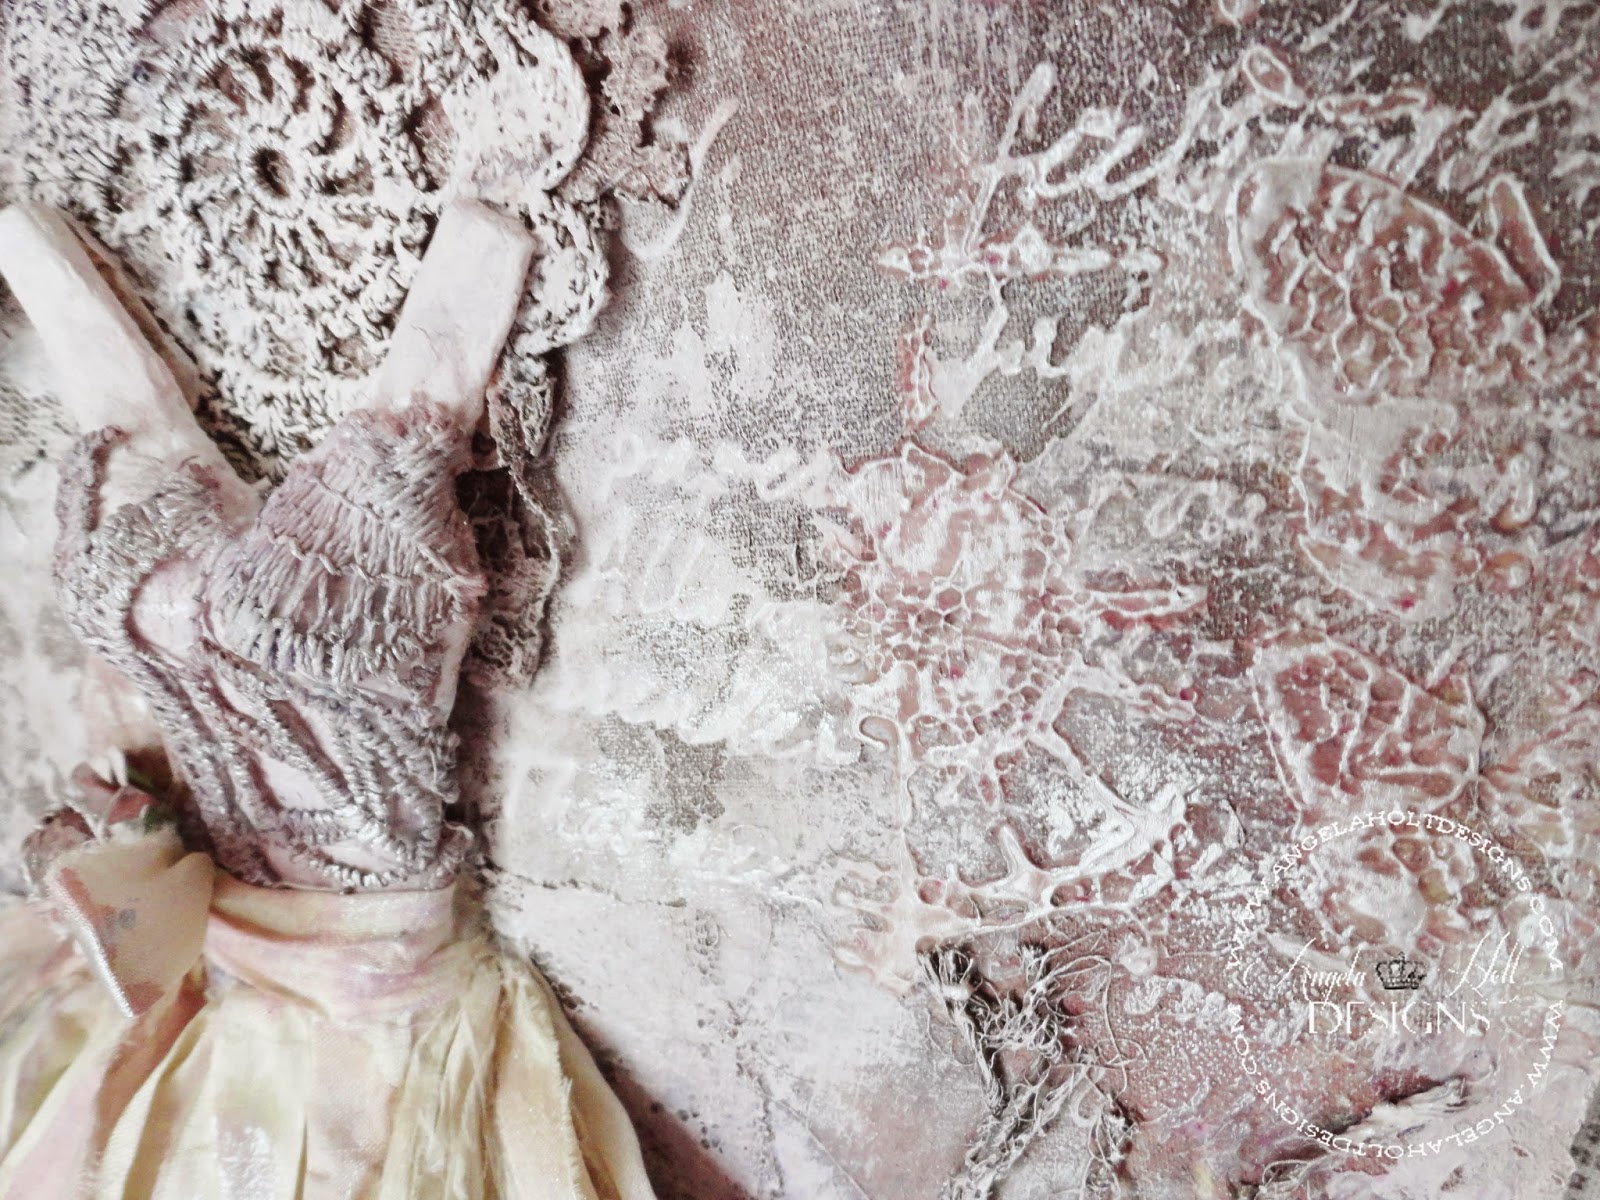
Come check out my amazing Mixed Media canvas tutorial featuring Lindy's Stamp Gang sprays. I show you how to make a awesome dress bodice...
Mixed Media Canvas with Handmade Dress Tutorial
Coming to you all as your fabulous Xyron Designer. Xyron Designers and Anna Griffin INC . are featuring wonderful projects using Xyron Prod...
Xyron/ Anna Griffin Hop!!
I have a great project for you with a video tutorial!!! Yep!!! This project is a handmade card tutorial that is so dimensional. Lots of layers and elements makes this for a major Mixed media card!!!
Watch the video below and check it out!!! LIKE SHARE AND SUBSCRIBE!!!
Your Professional Crafting Designer/Educator
Angela Holt
Hello Crafty Peeps!!! Your Xyron Designer here ready to show you a fabulous Step out tutorial using some amazing products from Teresa Collin...
Teresa Collins/CardMaker blog hop
Supplies:
Teresa Collins "You Are My Happy" Paper Collection
Teresa Collins Designs - Basically Essential Collection - 12 x 12 Stencil - Damask
Xyron Teresa Collins Adhesive Kit
Xyron 1.5" create-a-sticker maker
Xyron 3" Create a sticker Maker ( One of my favorite tools!!!!)
Ribbon and trims
Ink
Hot Glue
Adhesive Bling
Flat backed Pearls
Scoring Board for the fan folding
A wood frame (found at Michales)
Lindy's Stamp Gang Fuzzy Navel Peach Star Burst Spray
White Gesso
Gold Acrylic Paint Dauber (Ranger industry product)
String Pearl
Paper Flowers
Step 2 Cut 2 pieces of patter paper in the length of 12 inches and the width will be determined according to the frame you choose.The top half rosette was cut 2 x 12 inches. With my frame My other piece was cut at 3 3/4 inches wide by 12 inches long.
Step 3: Score both pieces of paper at 1/4 inches and then fan fold the pieces.
Step 4: Glue the half rosette to the top of the of the other scored piece of paper. Then Cut to size from another pattern piece paper a back for the frame.
Step 5: Place the piece inside the frame. Then line the frame with the string pearls.
Step 6: To build the small banner you see below you will need to cut out of pattern paper 5 x 1 3/4 inch piece and then mat it with a larger piece. You will run these piece through the Xyron 3" Create a Sticker. Add a ribbon bow and your choice of flower to the center of the bow.
Step 7: Now begin adding details to the piece by using frames and Teresa Collins's fabulous Liquid Glue in her Xyron Adhesive Kit. Add elements such as flowers, flat backed pearls, a mini banner even frame out the photo with one of the frames provided in the paper collection.
Now here are the photos of the complete project in all its details!!!
I hope this inspires you to think "OUTSIDE THE BOX" and try new ideas with wonderful products and must have tools. Be sure to check out Xyron's Blog for tons more inspiration from all the Xyron Designers. Also if you like this paper collection visit Teresa Collins page to order this and many other wonderful collections. If you have any questions please let me know!!
Until Next Crafty Tutorial,
Your Professional Crafting Educator and Designer
Angela Holt
Hey Crafty Peeps, here is another amazing way you can use Etchall in your Mixed Media Crafting!! We all know and love those tiny Miniature ...
Etched Glass Miniature Bottle
As you can see from this photo above, I have etched a beautiful butterfly onto the glass using the steps I have taught you many times!!! You can find these steps in my Etchall Videos on my Youtube channel. The etched butterfly is a die cut from Memory Works and it is called "Pippi Butterfly" and I purchase this die from http://www.craftycity.com/ The base you see here is a metal filigree from Miriam's Crafting Supplies
The top or the cork was painted in silver acrylic paint. I then took a glass bead, a tear drop pearl and a fab bead cap in the shape of a Lilly and glue these pieces to the top of the jar.
To finish off the piece, I added a sheer bow, a tear drop flat backed pearl that can also be found at Miriam's Crafting Supplies and them I stuffed the jar with 3 paper roses to have some shabby chic goodness and a touch of pink to the finished piece.
This mini tutorial is intended to show you the diversity of projects and ways that you can use Etchall Etching Cream. This product surpasses any other on the market. It is true to its name and the results are amazing each and every time!!! This product is a must have staple in your crafting stash!!!
Visit all the links I have shared and show some love to each!! Also, visit www.Etchall.com and order your products and tools!!! I always keep the following in my crafting studio!!
Etchall Etching Cream
Etchall Dip and Etch
Etchall Squeegee Tool
Etchall Combo Swivel Set
Ethcall Etching Mask
Etchall Etching Mask Transfer Paper
Ethcall Resist Gel
Let me know if you have any questions!!!
Your Professional Crafting Designer and Educator
Angela Holt
Hello my Etching Peeps, I want to share with you an "Inspirational" Etched Glass piece. I had a video tutorial but the computer c...
Inspirational Etched Glass Decor
Merry Christmas!!!!! Can you believe that it is that time of year again? I can and I love it!!!! The smells, the crisp air, the exciting dec...
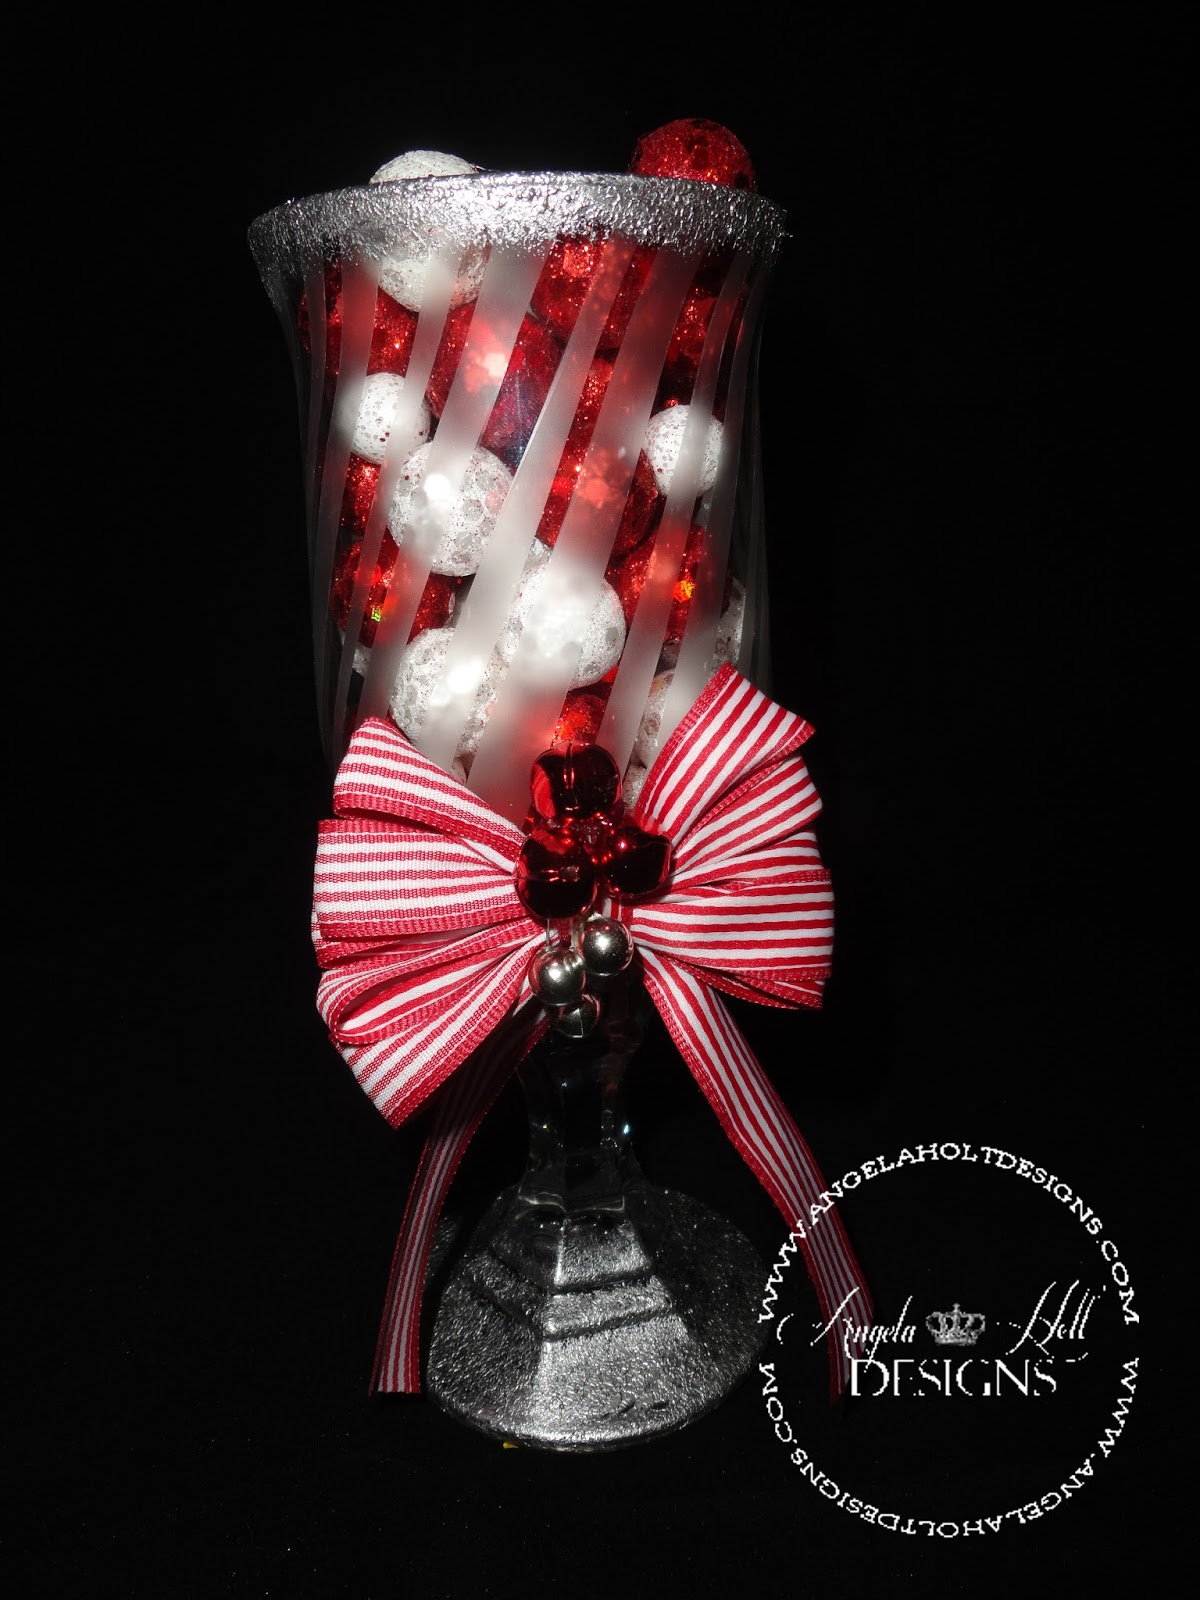
Candy Cane Striped Etched Glass Candle Holder
1. First you are going to begin with a candle holder!!! This candle holder is made by gluing with E6000 a candle base to a candle holder. This candle holder with base measures 8 1/4 inches tall.
2. Begin by cutting strips of Etching mask paper 1/4 inch thick. Cut out about 12. Then Cut out 12 at the size of 1/8 inch thick. So you should have two different size of strips!!!
3. You are going to begin placing these 1/4 inch strips at a diagonal pattern. The spacing will be determined by the size in circumference of the candle holder. Mine are placed 1/2 inch a part. Make sure that you use your Squeegee tool to get all your edges down. NOTE: you will not need your Etching Mask transfer paper for this particular project.
4. Your Going to then place your 1/8 inch strips closer to one side of each of the 1/4 inch strips as pictured above. This gives it a more double striped candy cane look. TIP: Run out and get some candy canes with different strip patterns that you would like to try!!
5. Now that you have all of your strips placed and down firmly, it is time to begin your etching!!! As pictured above, I got my Etchall Etching Cream and a makeup sponge and began layers and pouncing the cream on VERY HEAVILY!!! This is KEY for a great smooth Etch!!! By Pouncing on the cream you find a more soft and smooth etch look!!! I love applying the Etchall Etching cream this way!!!
NOTE: Using the instructions on the back of the bottle, you will allow the cream to etch for 15 mins. Then you will remove the remaining cream off the candle holder and place it back into your etching cream jar for another etching project. NOTE: that Etchall etching cream is reusable!!!! Once that time has passed, you will then take it to you sink, rinse and remove excess etching cream them while under water you will remove the yellow Etching Mask to reveal your beautiful etch!!
6. AHHH How awesome is this? It turned out amazing!!! Of course it would. I used THE BEST etching cream on the market!!!! NOW IT IS TIME TO DECORATE!!!
Using my NEW Bow-It-All by Zutter and some red and white striped double sided ribbon, I created an amazing multi-looped bow!!! Love this machine!!!!!
I attached a piece of striped ribbon along the base of the candle holder top. Then I glued on my Fabulous Bow-It-All Bow!!!! Did I say how much I love this machine?
I then grabbed a few Jingle Bells and some silver Ball pieces and made a center piece for my bow!!!
I then grabbed my Adirondack Metallics Acrylic Paint Dabber in Silver by Ranger INK, and began to pounce the top rim and the bottom base of the candle holder for an added finishing touch!!